How to Create Your Own Perler Beads Patterns
Love melty beads but want to create your own Perler Beads designs? Here’s a quick and easy craft project you can do with kids!
When I was a kid, I loved creating fused bead creations with Perler Beads, but it was always an activity I did at a friend’s house as we didn’t have the kits to do them at home. I’m not sure if that’s why it was such a special activity for me, but I do remember how much I enjoyed it, and I wanted to share my love of Perler Beads with my kids.
For Christmas this year, we bought the kids a Woodland Critters Perler Beads set and some extra supplies (see below for details) to be able to have a craft day at home. When we got the phone call from their school this morning that they would be having a snow day, I decided it would be a perfect day to get out the Perler Beads and create some fused bead crafts of our own!
About Perler Beads
Perler Beads (sometimes called Hama beads or Nabbi beads) are a brand of fusible plastic beads. They’re constructed of low-density polyethylene, a food-safe material. The beads are organized in designs on pegboards, then fused together using heat from a clothes iron.
Perler bead crafting is a simple and affordable art form that encourages creativity. It can also aid in the development of hand-eye coordination as well as the learning of color names and basic counting abilities in young children.
These beads can provide hours of fun for kids (and adults) of all ages!
Note: Melty beads are fun crafts for a variety of ages and provide great motor skills practice. Use caution with young children or pets nearby as the beads can be a choking hazard.
Finding Easy Perler Bead Patterns on Pinterest
We did a search on Pinterest to see if we could find any winter-themed Perler Beads designs. We found so many fun Perler Bead ideas to try out!
But as we searched, we wondered if perhaps we could design our own Perler Beads patterns using a few basic supplies we already had at home. We grabbed our supplies and got to work designing our own original fused bead patterns to create.
Over the years, my kids have used developed their pattern-making skills and have not only created fun seasonally-themed patterns with the colorful fuse beads, but they’ve created patterns for their book favorite character, movie characters, and even Disney Princesses!
- Perler Bead Patterns for Kids
- 15+ Springtime & Easter Perler Bead Patterns for Kids
- Valentine’s Day Perler Beads Patterns
- Winter Themed Perler Beads Patterns
How to Make Perler Bead Patterns
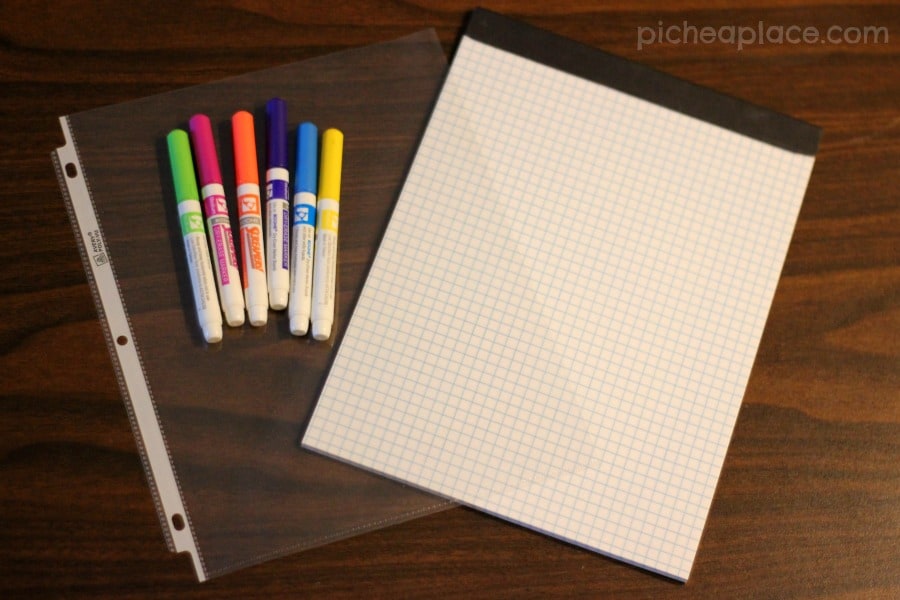
Grab your supplies… most of these items we found around the house, but the rest can be picked up in your local craft store or ordered from Amazon.
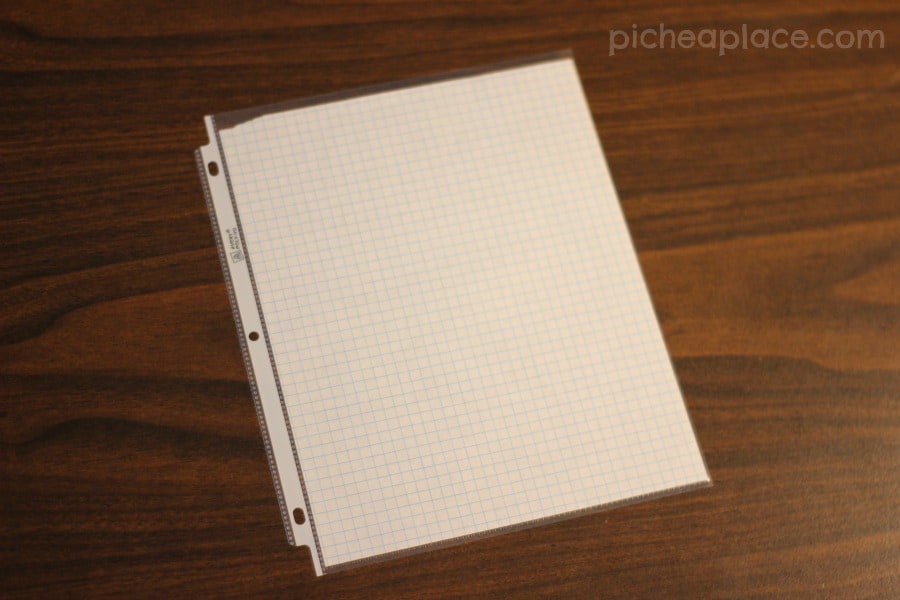
- graph paper
- plastic sheet protector
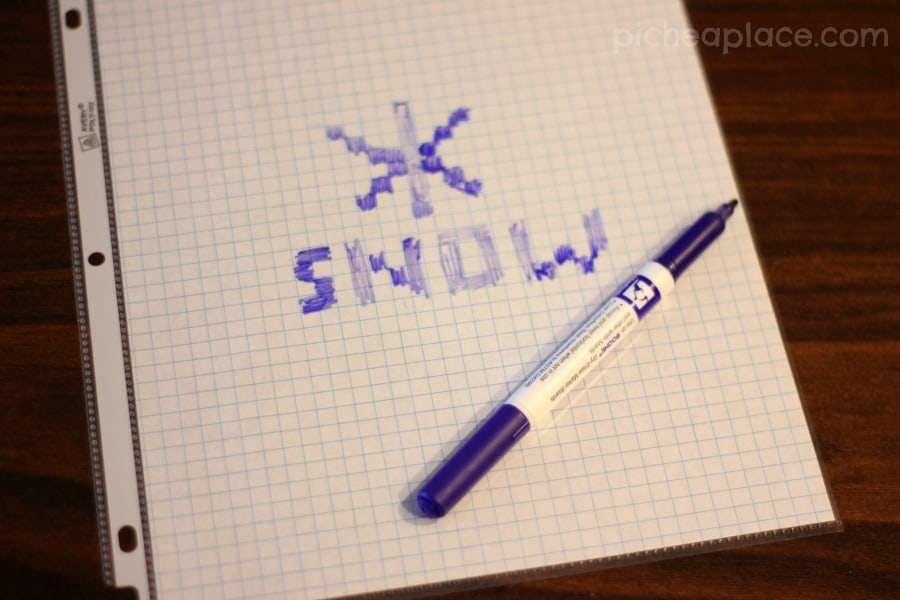
- dry erase markers
- Perler Beads (aka melty beads and/or fuse beads)
- Perler Beads pegboard (due to the graph paper, we recommend a square pegboard instead of a circle pegboard)
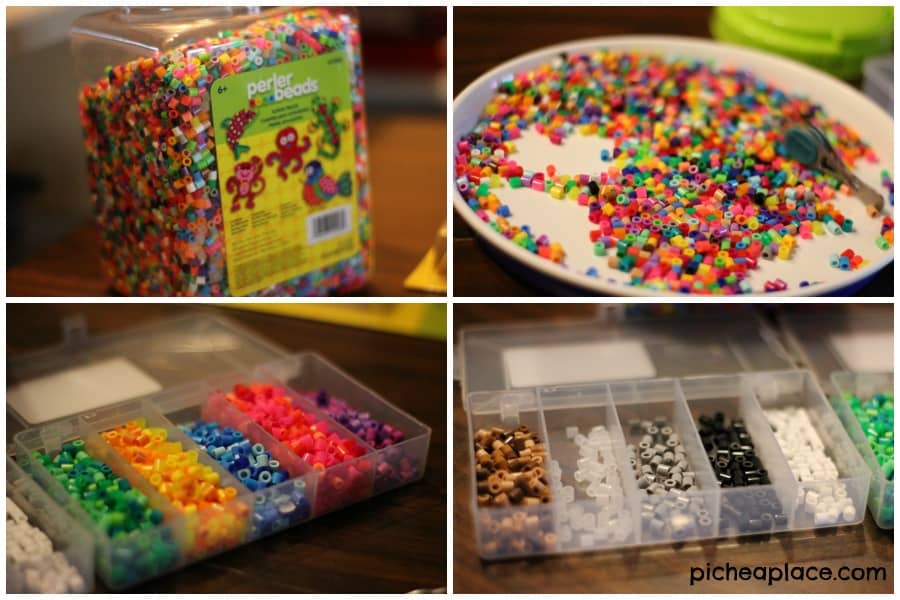
- (optional) bead sorter/storage container
- (optional) tweezers
And then find a well-lit space with a hard, flat surface on which to work. My kids frequently use the kitchen counter or dining room table.
Using Your Perler Bead Patterns Maker
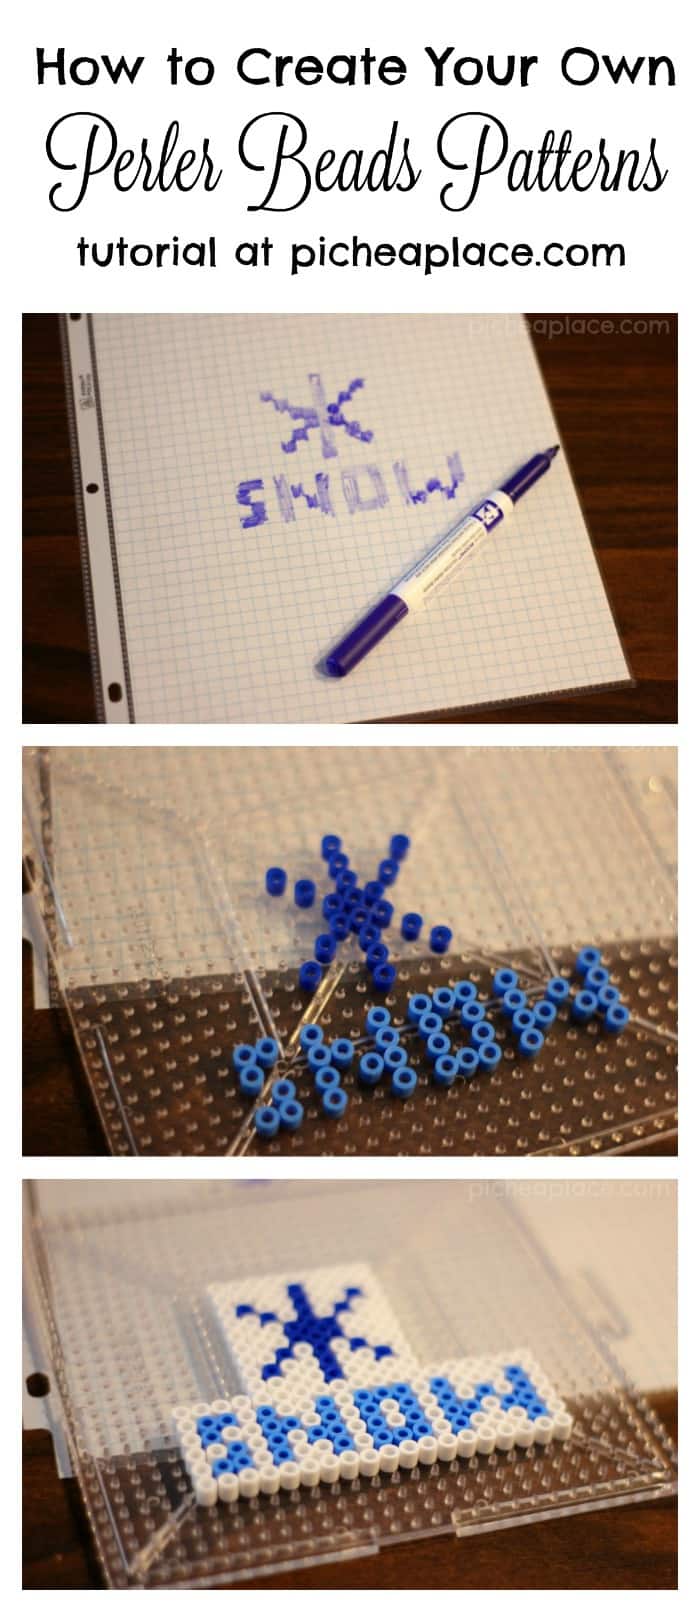
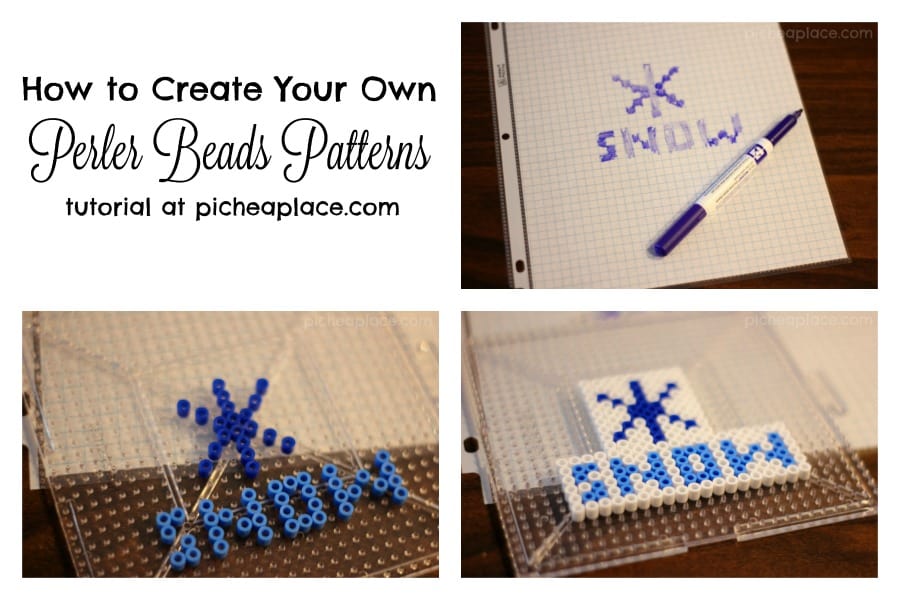
We started by putting a piece of graph paper in the plastic sheet protector – this allowed us to easily edit our designs in our homemade Perler Bead patterns maker.
Then we used the dry erase markers to draw out our Perler Bead pattern, coloring in the boxes that corresponded to the bead colors for the image we wanted to create.
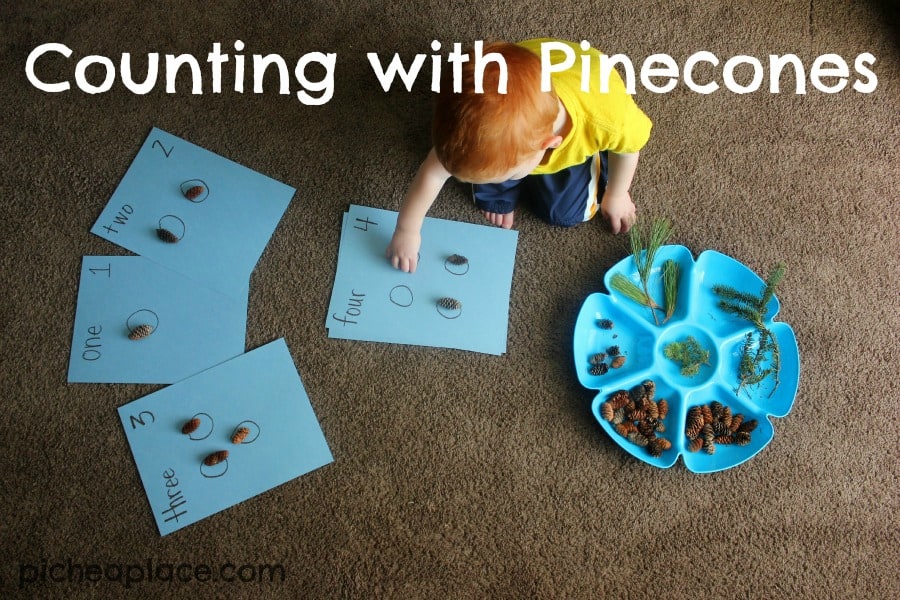
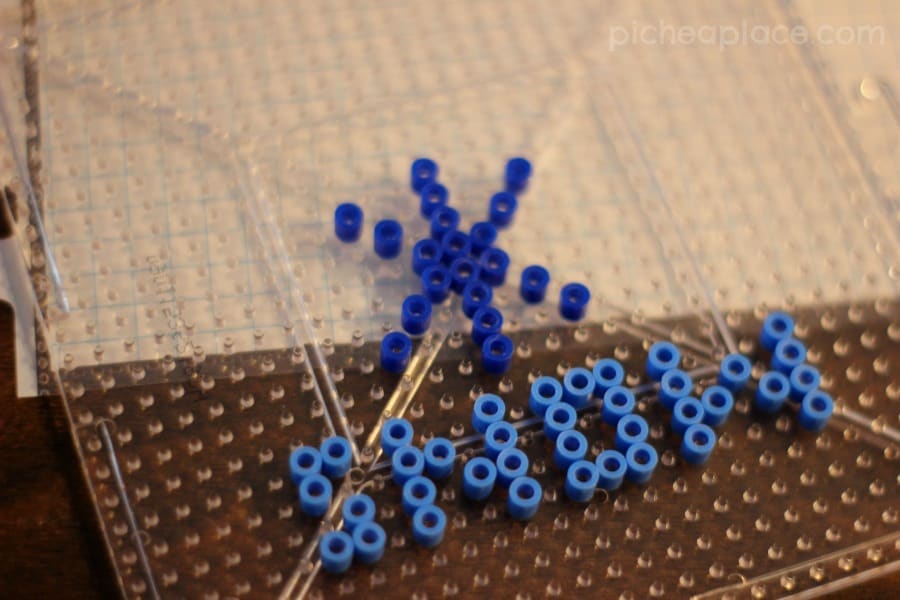
Once we had our design drawn out, we grabbed our beads (sorted by color for ease of finding the ones we wanted to use) and began to place our pattern on the pegboard.
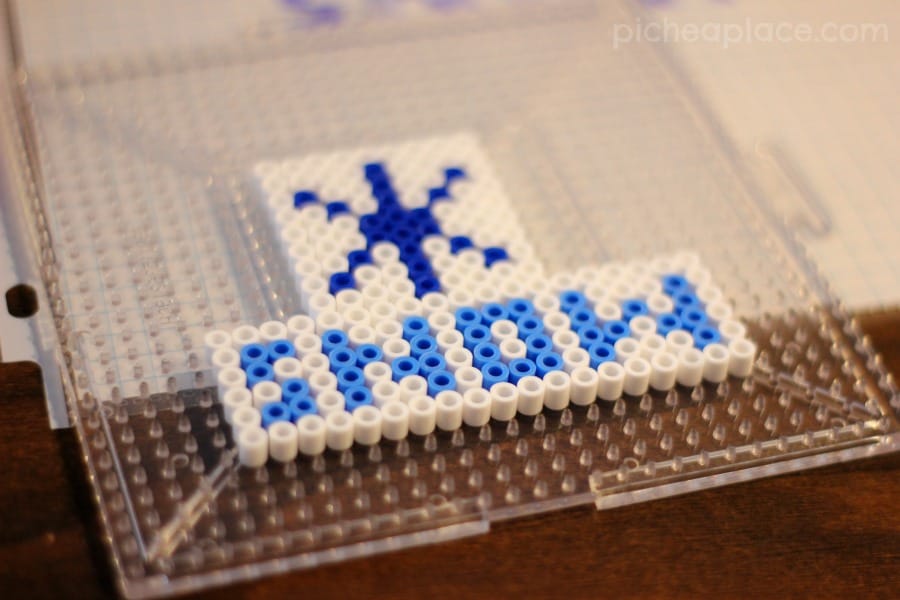
Note: We didn’t “color” in the area around the design, but we did fill in it with white beads on our bead pegboard to bring the finished design together before fusing the melty beads together.
To fuse the beads together, place your pegboard on a flat, heat-safe surface. Set a household iron to the medium setting.
Place a piece of parchment paper or wax paper over the pegboard. In a circular motion, begin to iron the project. When ironed properly, the beads will still have open centers. Let the design cool.
Remove the paper and bead design from the pegboard. Flip the design over to expose the non-fused side and iron as instructed above. Let cool completely.
Once the design is cool, peel off the ironing paper. Your pegboards and ironing paper are reusable.
Note: Beads need heat for about 10-20 seconds per side to fuse evenly. Lift the paper occasionally to see how the beads are fusing. Depending on the size of the project, additional heating time may be required.
Ideas for Sharing Your Finished Craft Project
As my kids can attest, there are so many ways to share your finished product – Perler Beads designs make great coasters, keychains, and even magnets (although we definitely recommend using superglue or hot glue to attach a magnet to the back)!
It was so much fun to create our own projects… the only limits are the size of our pegboards and our imaginations!
The Sky is the Limit with Perler Beads Designs
What fun crafts have you created with Perler Beads? What patterns would you like to try to create?
- We’ve seen crafters add sparkle to their bead projects (just sprinkle glitter on the beads before you melt them together).
- Some fill a metal cookie cutter with a layer of beads (instead of placing them on a pegboard) and melt the beads in the oven for fun and colorful bead ornaments.
- Others make bead jewelry, like a bead bracelet or bead necklace, stringing the colorful beads.
The sky really is the limit on the fun you can have with these plastic fusible beads!
Maybe next time we’ll try some 3D shapes!